Looking for Automatic Chicken Waterer Parts List?
Updating a previously documented project – The Homemade Automatic Chicken Waterer. The new version is a little different, but much the same as the last one in 2012. This time we have some new ideas.
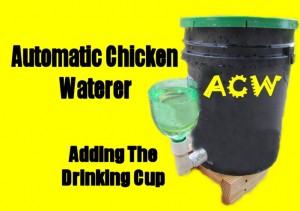
It is time to add the drinking cup to the reservoir.
In the first video and post at http://www.tagnaples.com/automatic-chicken-waterer-building-it/ we went in depth on building the reservoir, supply, and delivery of the automatic chicken waterer. Now we are putting on the drinking cup using a 2 liter bottle as a reusable item in the system. This way we can replace the drinking cup after it has been used for a while, with a new one. We can still recycle the 2 liter bottle even after we have re-used it.
The Homemade Automatic Chicken Waterer concept can be utilized for many different applications with a little imagination.
Homemade Automatic Chicken Waterer – Drinking Cup Parts List
Picking up where we left off from the finished reservoir –
1 – Fitting to go from the reservoir to the drinking cup – This was a 90 degree elbow 3/4″ male pipe thread to 3/4″ female pipe thread.
2 – Fitting to hold the top of the 2 liter bottle. – This is a reducer fitting 3/4″ male pipe thread to 1″ slip.
3 – Liquid Nails adhesive – or whichever adhesive you may use to glue the top of the 2 liter bottle into the 1″ slip fitting.
4 – A 2 liter bottle.
Drinking Cup for the Chickens
Now, as you can see, the float can be adjusted to raise or lower the height of the top of the water. This needs to be tested for optimum performance. Time in the field will help you see where yours needs to be. The 2 liter bottle can be cut tall or short, depending on your specific circumstances.
MAKE SURE TO PUT IT WHERE THE CHICKENS CANNOT GET ON TOP OF THE RESERVOIR BUCKET!!!!!!!
Next up will be more ideas for the drinking cup and bowl.
Homemade Automatic Chicken Waterer – First post to get started

